It has been so cold these past few days where I live and although I love the snow, it can sometimes be a hassle. Today I’ll talk about polymer clay beads!
What are Polymer Clay Beads?
Clay beads are basically beads made out of polymer clay. Literally. Making large polymer clay beads can be difficult to wear because the clay makes the bead very heavy. The larger the bead, the heavier it is so you need to keep that in mind when making polymer clay beads.
Making Polymer Clay Beads
I’ve done some searching and here is an easy way you can make your own clay beads.
Supplies:
- Pre-made Canes: We talked about canes before and canes have very intricate and beautiful designs on them which is why they can be used to make beads with cool patterning.


- Blade: A blade is needed to cut the canes but remember to be careful when using them.
- Wax Paper: Polymer clay can sometimes stain certain surfaces so you should use wax paper to use as your work surface.
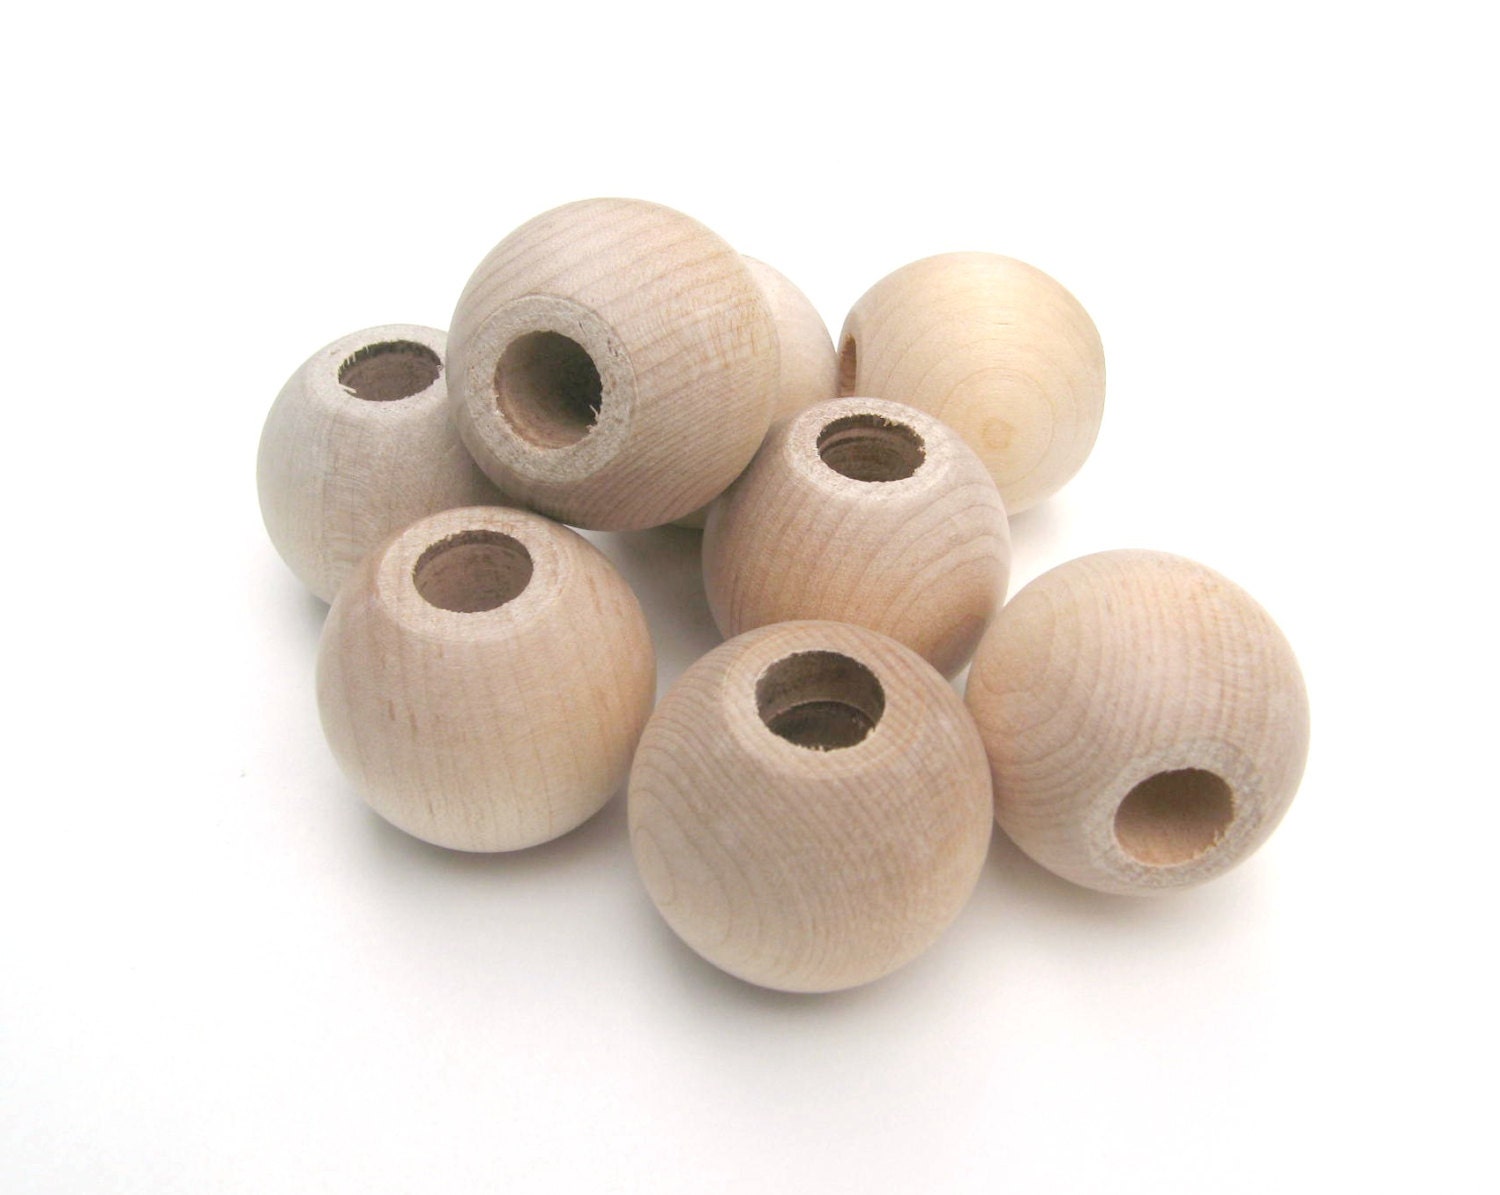
- Wood Beads or Aluminum Foil: If your bead is made entirely out of polymer clay, the bigger it is, the heavier the bead will be so when you wear it, it wouldn’t be very comfortable. Instead, you can use wood beads as a certain and cover it with your canes. Another alternative is to use aluminum foil. Pack the foil into a tight circular ball and remember to leave a hole in the center so that you can string your bead.

- Knitting Needle: This is not needed but it can help when baking your bead or if some clay gets into the hole of your bead.
- Liquid Polymer Clay: You need liquid clay to secure your cane slices onto either your wooden bead or your aluminum foil ball. Using something like glue wouldn’t necessarily make the cane slices stick on your bead.
What to Do:
- First tape down your wax paper to your work surface and make sure it is firmly and neatly taped down.
- Take your cane with the desired design and using your blade, cut it evenly. While the slices should be thin, they should be a little thick and shouldn't be see-through.
- Put a little bit of your liquid clay either on the back of your cane slice and then place it on the bead or, dab some liquid clay onto the bead and then place the can slice accordingly.
- Gently push and soften the edges of the cane slice around the bead and then continue to wrap the entire bead with cane slices. You can use only one cane or you can switch up the designs. Be creative! (The bead shouldn't be completely covered. The next step will explain)
- After you finish covering the majority of the bead with cane slices, place the bead on the wave paper and gently roll it out. The edges of the cane will blend and the entire bead should be fully covered by now.
- Use your tool (knitting needle, pen, etc) and poke it through the hold of the bead. Covering the bead with clay may have covered up the bead hole so use your tool and make sure that hole is clear.
- If you don’t want to use a knitting needle, you can use a blade to cut away the excess clay covering the hole in your bead.
- Bake your bead. When baking your bead, it needs to be suspended so that it can maintain its round form. The knitting needle comes in handy again and you can thread your beads through the needle and then suspend it on the edge of a pan. Then, you can bake your clay.
- If you want, after you have baked your clay, you can sand your bead to give it a cleaner and finer finish. Have fun!

